![]() In Takeda, there are two ways in which formations can be controlled; at the division level, and at the army level.
In Takeda, there are two ways in which formations can be controlled; at the division level, and at the army level.
DIVISION FORMATIONS:
Division level formations are made up of four battalions of men. The division has different combat abilities and behaviour depending on the particular formation used, the type of division (spearman, cavalry, etc), and the type of orders it has been given.
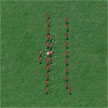
Below is an example of a spearman division in a crescent formation, which has orders to defend. The support division of archers remains in front as the enemy charges, trying to soften them up while they are far away. When the enemy gets close, the spearmen rush in and begin combat with the attacking enemy. The archers fallback, but continue to support the spearmen from a distance. If this division had been ordered to attack, the spearmen would have charged out in front right away to protect the archers.
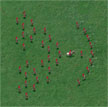
Typically, formations that spread the men out in a wide, shallow arrangement, such as lines and crescents, are best for defending. This is because these formations cover a wide area and prevent the enemy from getting through. In the case of spearmen, a line or crescent formation also allows individual soldiers to work together and support each other.
Formations which take wedge or arrowhead shapes tend to be much better for attacking than defending. It works just like an actual wedge - a pointed object is much better for penetrating a surface than a blunt object, because it tends to spread that surface apart. Thus, the men in a wedge formation will tend to push the enemy apart, breaking them up, and the enemy loses the advantage of their defensive formations.
Perimeter
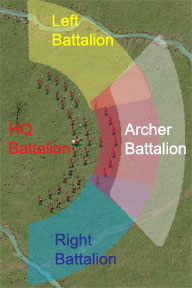
Each division has a certain area around it that it is responsible for. This area, or perimeter, is basically an extension of the division's formation. Thus, a division in a line formation will have a long perimeter and will cover a wide area, while a square formation will have a box shaped perimeter.
Enemy units within the division's perimeter will be considered a threat, while enemies outside of the perimeter will be largely ignored.
Mobility
Certain formations are more mobile than others - they can turn and reposition faster without breaking apart. This is important. Any division could be as mobile as any other if all the soldiers break formation and run from one spot to the next. Of course, this means they are very vulnerable while they are traveling, so instead, a division will try to hold formation as it moves. Because of this, it may not be as agile as it otherwise could be.
In the game, certain formations lend themselves better to movement than others. At the same time, a certain amount of strength is sacrificed for this mobility. For example, a crescent formation is very mobile, and can quickly turn and reposition. Comparatively, a line formation is very slow to turn. However, the line formation covers a wider area and is better at defending an area, as long as the division does not have to move very much.
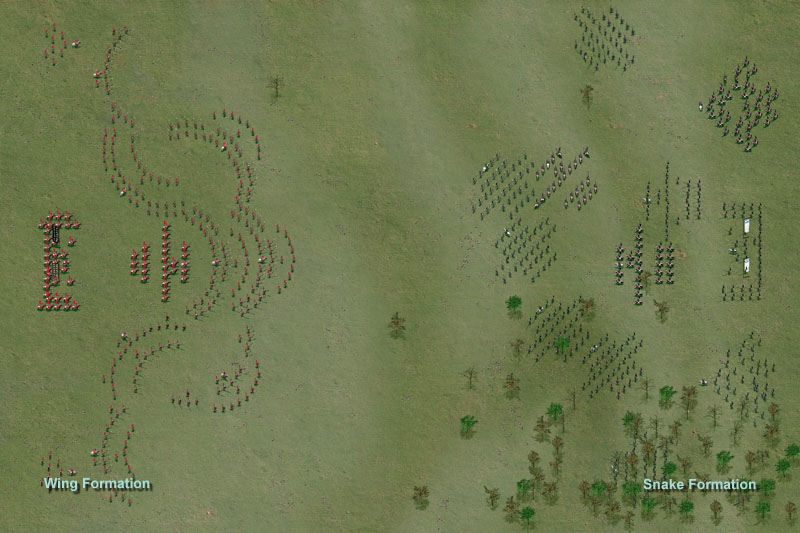
Often the entire army must take a formation in order to execute a particular battle strategy. Army level formations work just like division formations, except on a larger scale. When an army formation is selected, each division will take a formation, and then the divisions will combine to create the larger pattern.
As with division formations, each army formation has its own unique strengths and weaknesses when used in different situations.
Below we can see two offensive formations: Wing and Snake. The Wing formation is useful for head on center penetration of the enemy lines, but retains the ability to swing to the left or the right to adjust for enemy movements or flanking tactics. The snake formation is a flexible attack layout, designed for maximum mobility on the battlefield. An army in snake formation can rapidly change directions and also tends to focus a large number of divisions in a small area - outnumbering enemy troops at their location.